Project Overview
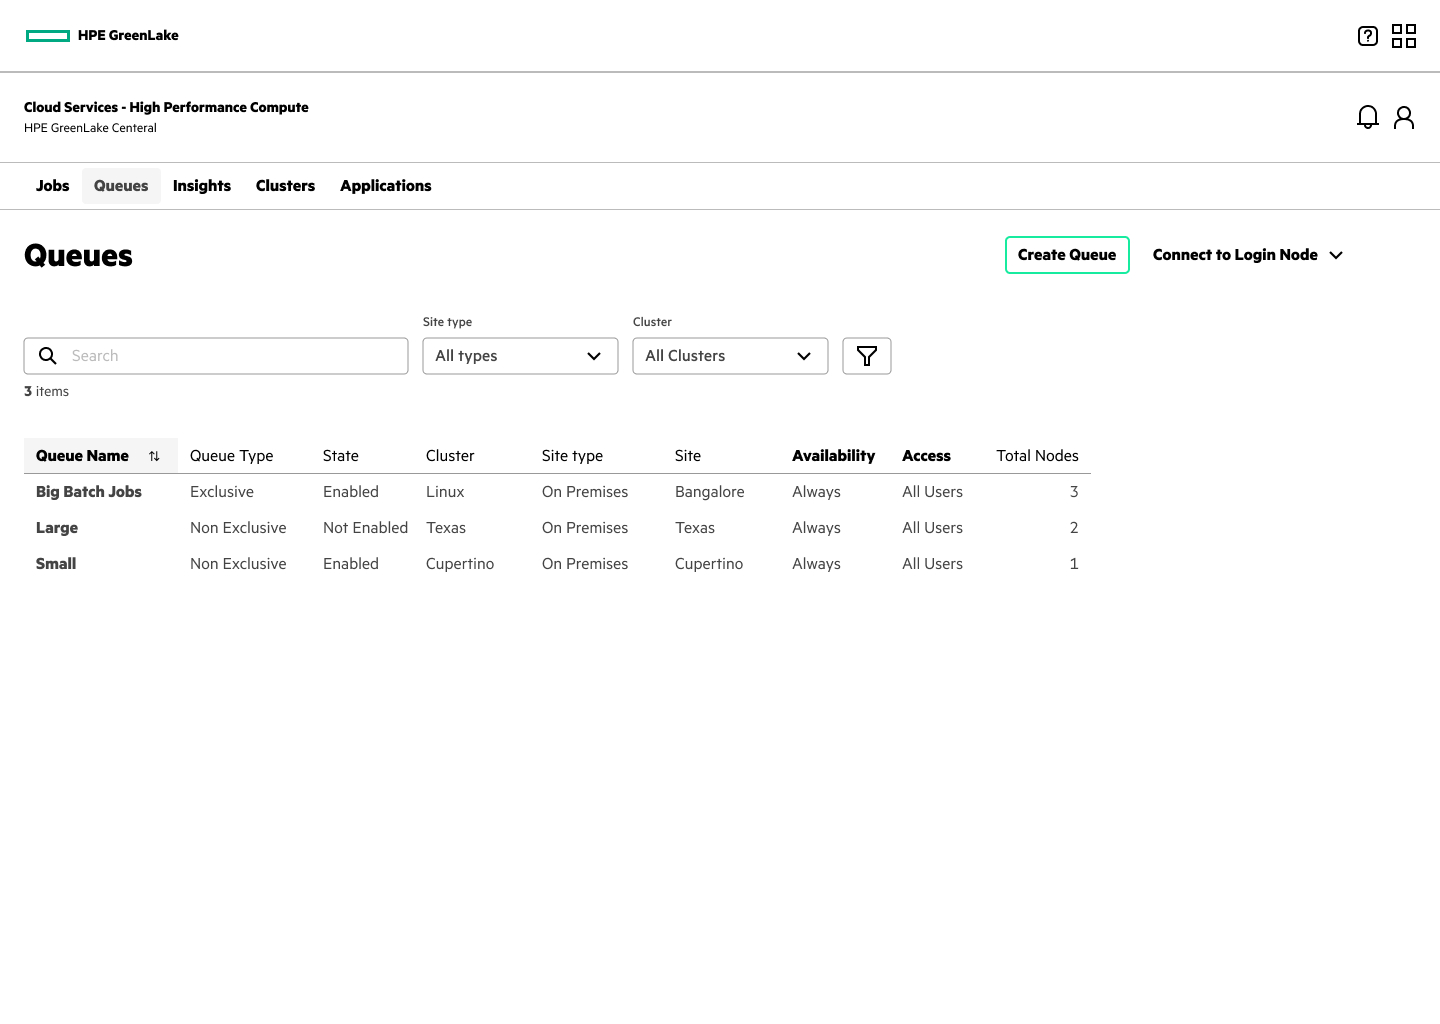
High Performance Computing as a Service (HPCaaS) under **HPE GreenLake** allows organizations to rent massive computational power. However, administrators previously had no visual, self-service dashboard to create custom task queues or partition nodes dynamically.
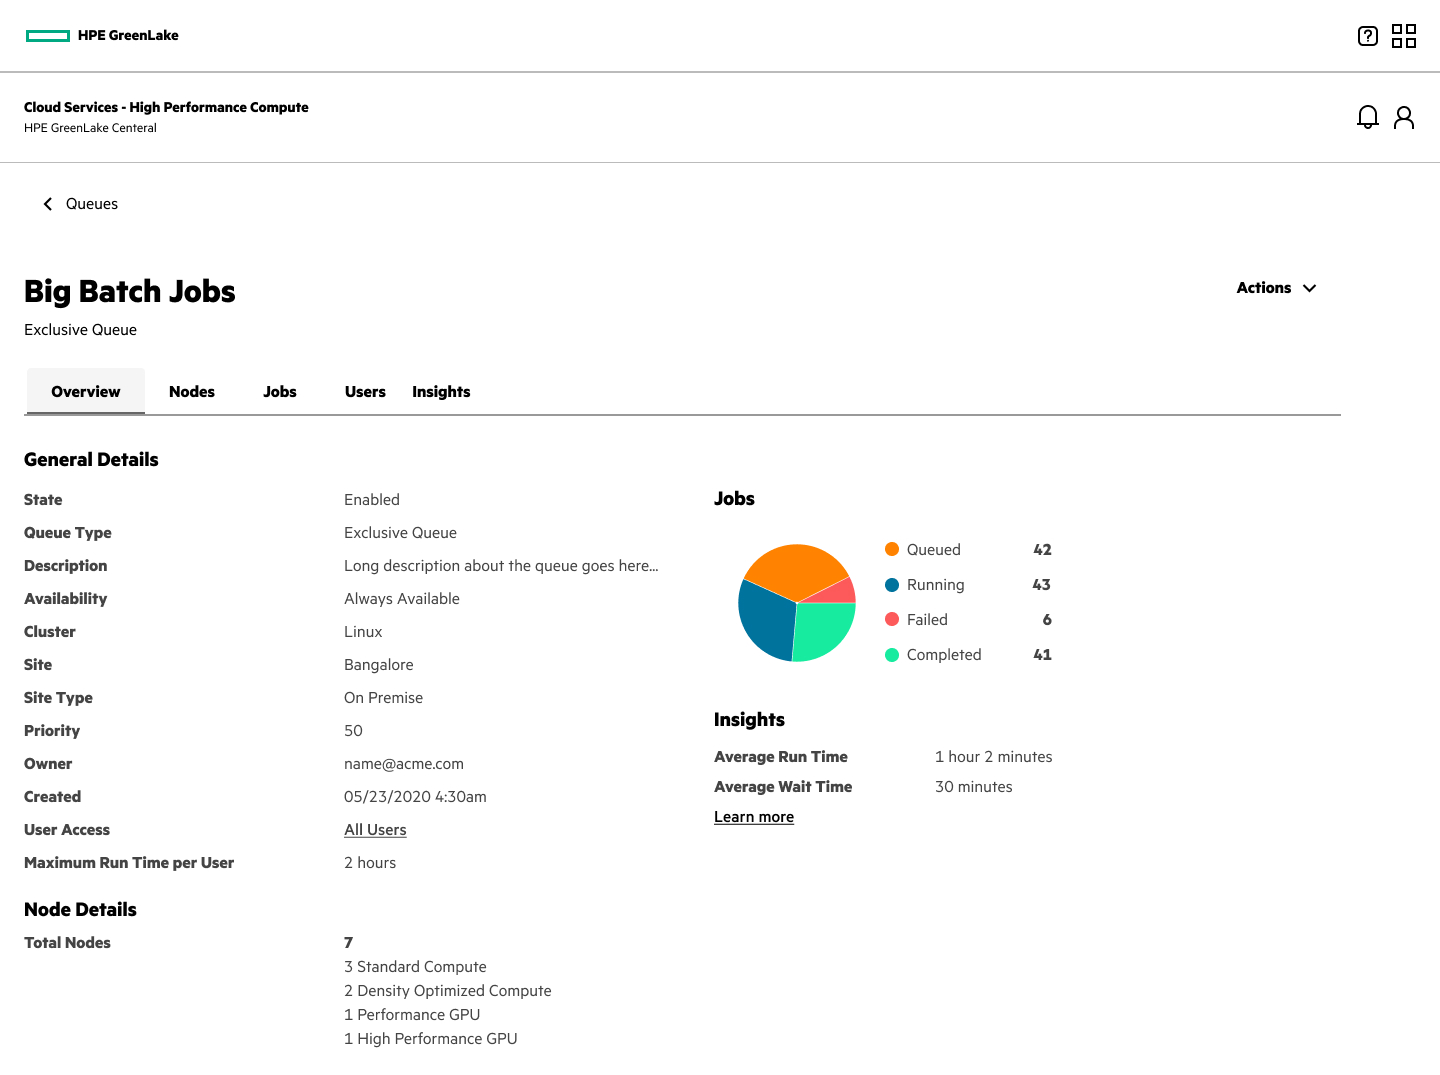
This project introduced the ability to provision queues inside GreenLake Central. A key requirement was implementing **Exclusive Queues**: queues that lock assigned nodes so they cannot be shared or co-allocated with other tasks, guaranteeing full CPU/GPU performance for critical calculations.
- Before: Administrators had to contact HPE support or run custom command-line config scripts to reserve isolated compute resources.
- After: Fully visual, self-service wizard to configure, manage, and lock exclusive nodes in under a minute.
Key UX Challenges
- Managing Node States: Illustrating clear visual indicators for nodes that are "Available", "Shared", or "Locked" to avoid co-allocation mistakes.
- Exclusivity Warning Logic: Guiding users through the performance trade-offs of reserving dedicated hardware vs. shared hardware.
- Multi-Step Scaling: Simplifying complex node allocation filters (cores, memory, network interconnects) into a 5-step intuitive wizard.
The Step-by-Step Provisioning Workflow
We mapped the configuration flow into a structured step-by-step layout inside the GreenLake Central system, providing real-time feedback at each stage.
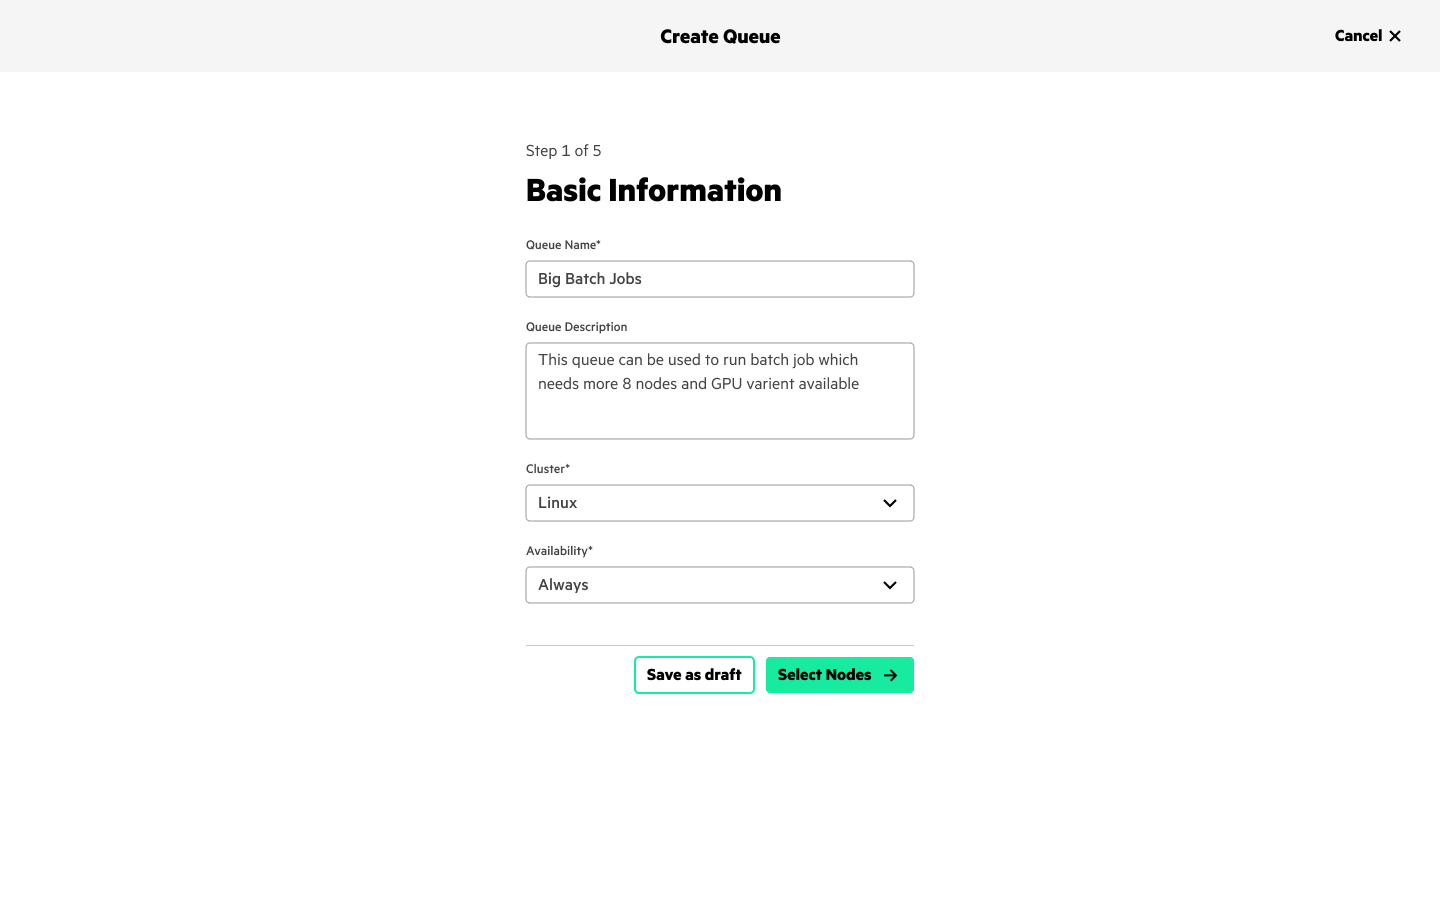
Step 1: Queue Profile Metadata
Users enter name identifiers, select active parent partitions, and define resource limits.
Step 2: Node Selection Table
Select available machines. Users filter nodes by processor models, GPU options, and state attributes.

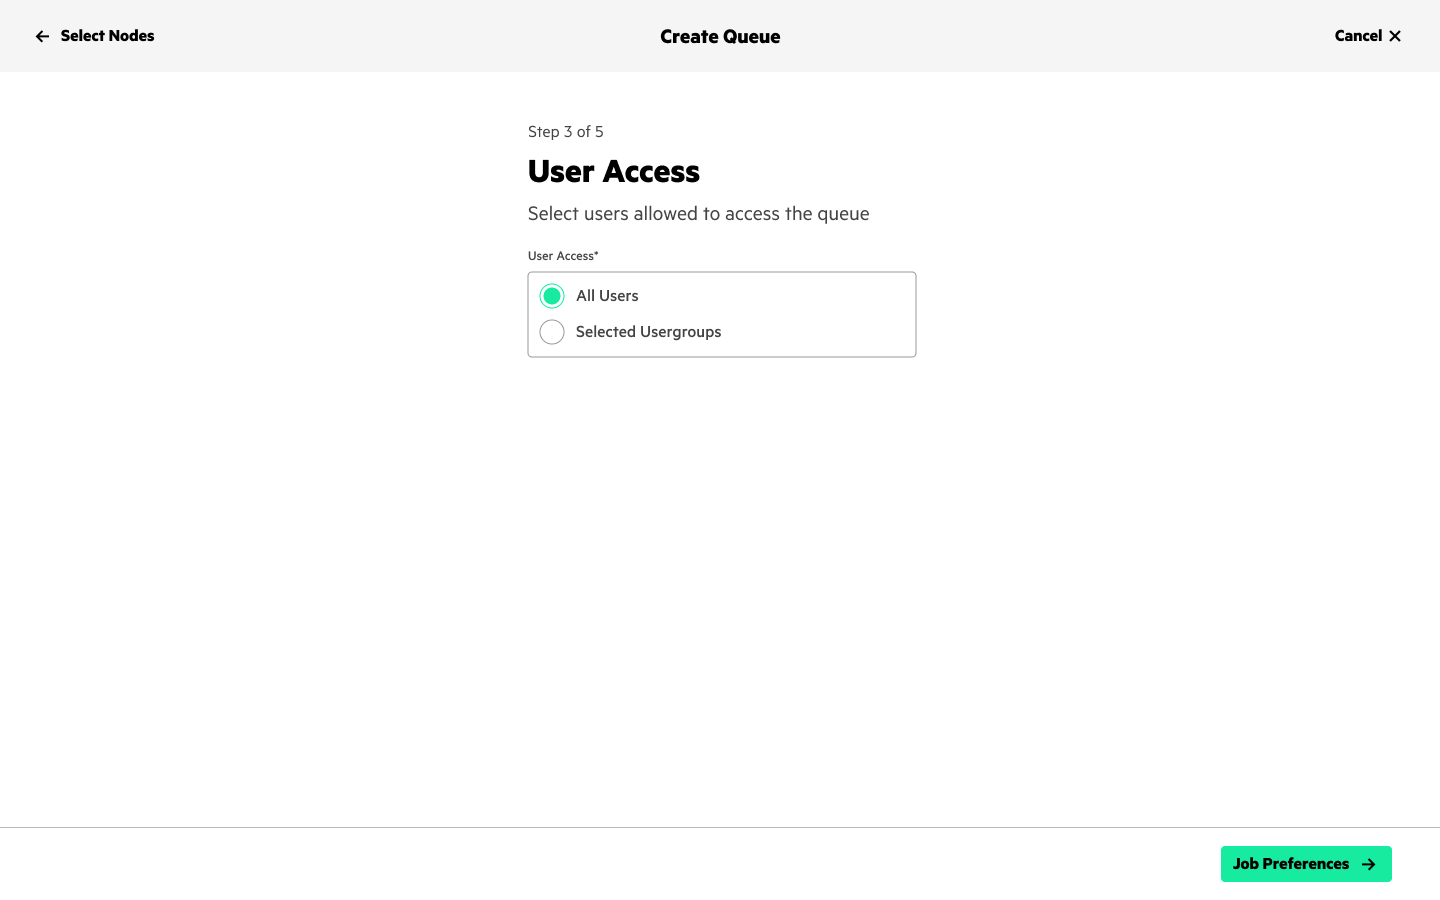
Step 3: User Access
Configure access permissions to define which user groups can dispatch jobs to the newly created compute queue.
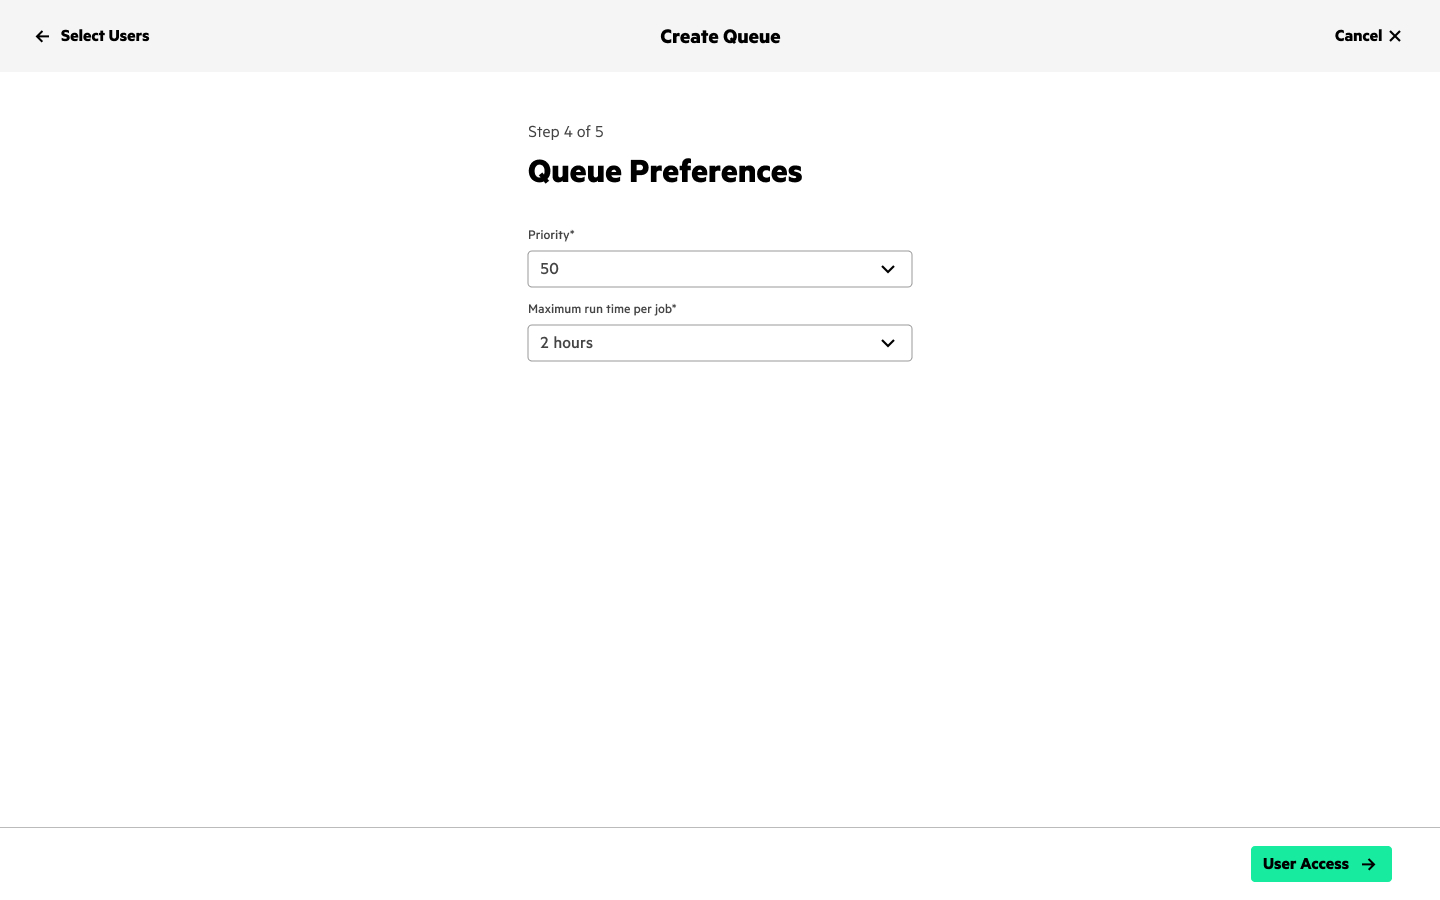
Step 4: Queue Preferences
Define specific priority weights, maximum runtime constraints per user, and job preemption thresholds.
Step 5: Review & Activation
A complete configuration summary checks node occupancy and confirms allocation before spinning up compute hooks.
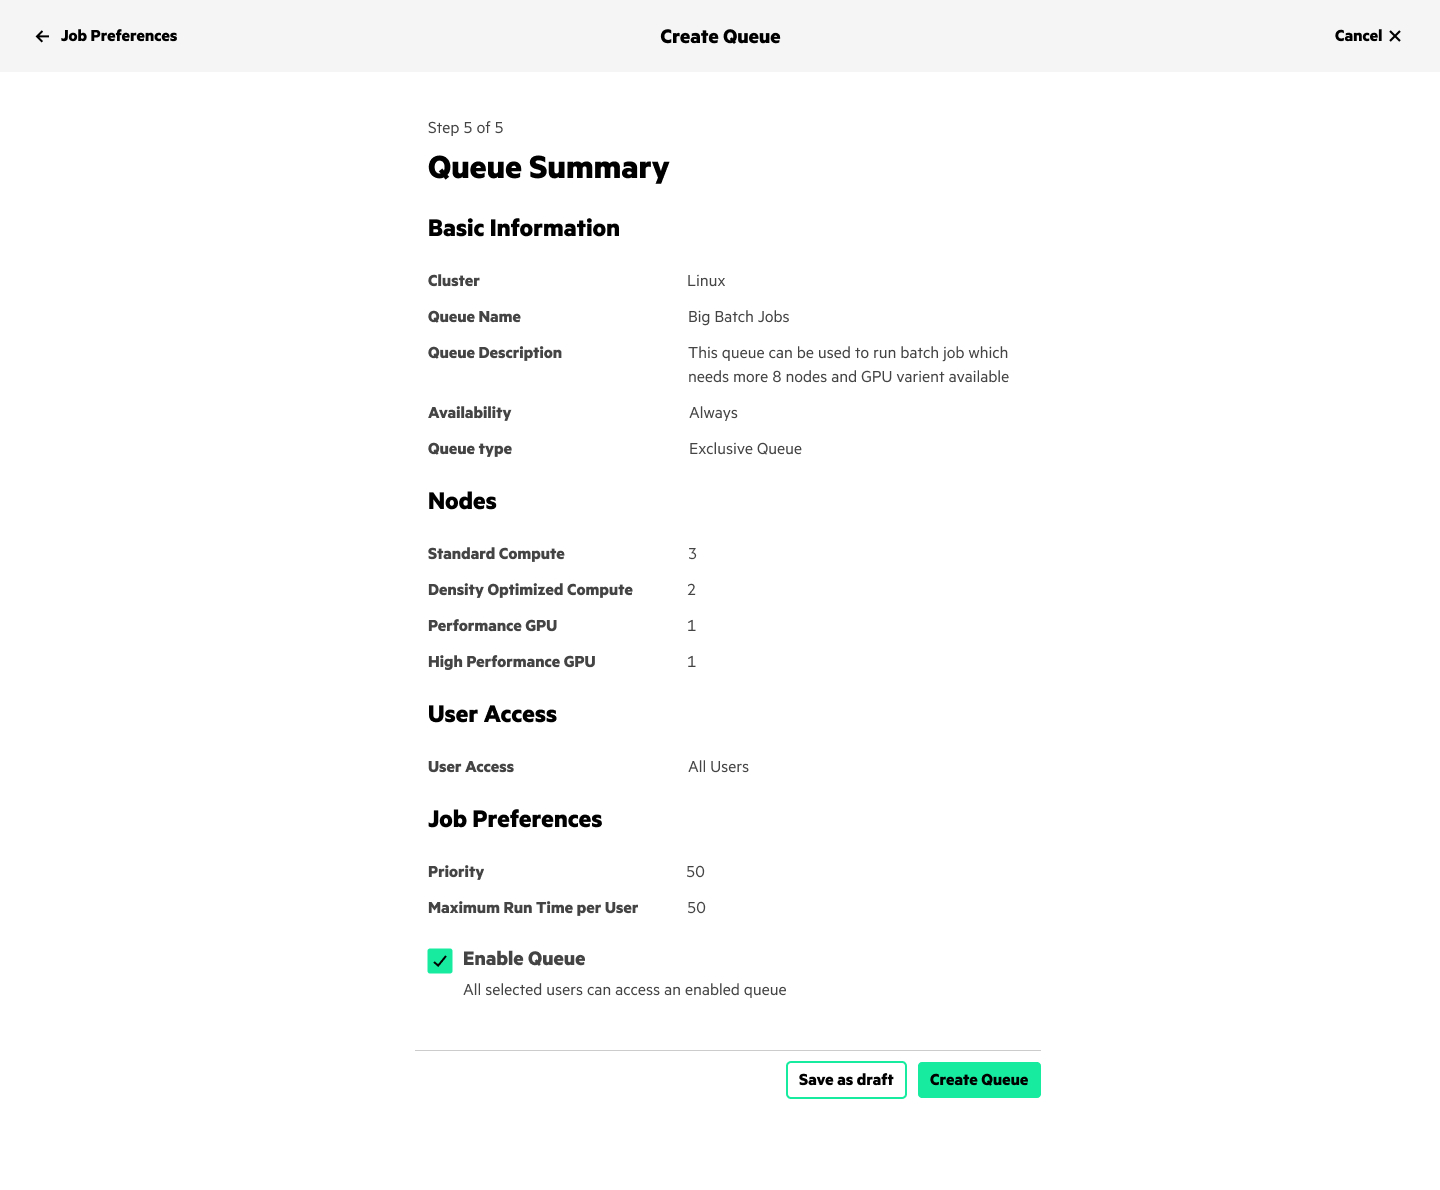
Additional feature added: "Save as Draft" Persistent States
Compute queue configuration is a complex administrative task involving multiple nodes, network limits, priority preferences, and user permission mappings. To prevent configuration loss and streamline workflow execution, we introduced a persistent "Save as Draft" action at every stage of the wizard. This new feature allows users to pause resource planning, exit the allocation wizard safely, and resume provisioning later without losing any input.
Design System Deep Dive: Shared vs. Exclusive States
We defined clear visual indicators inside the node table grids to let administrators easily distinguish between sharing states and avoid resource locking issues:
SHARED (REGULAR) Co-allocated Nodes
- Nodes show in standard listing styles. They are available to carry parallel tasks.
- Shows "Shared" allocation tags.
- Enables maximum compute utility but potentially introduces thread scheduling lag.
EXCLUSIVE Isolated Nodes
- Reserves dedicated machines that cannot be shared under other queues.
- Displays bright yellow warning badges and visual lock indicators.
- Nodes selected here are blocked from appearing in regular queue selectors.
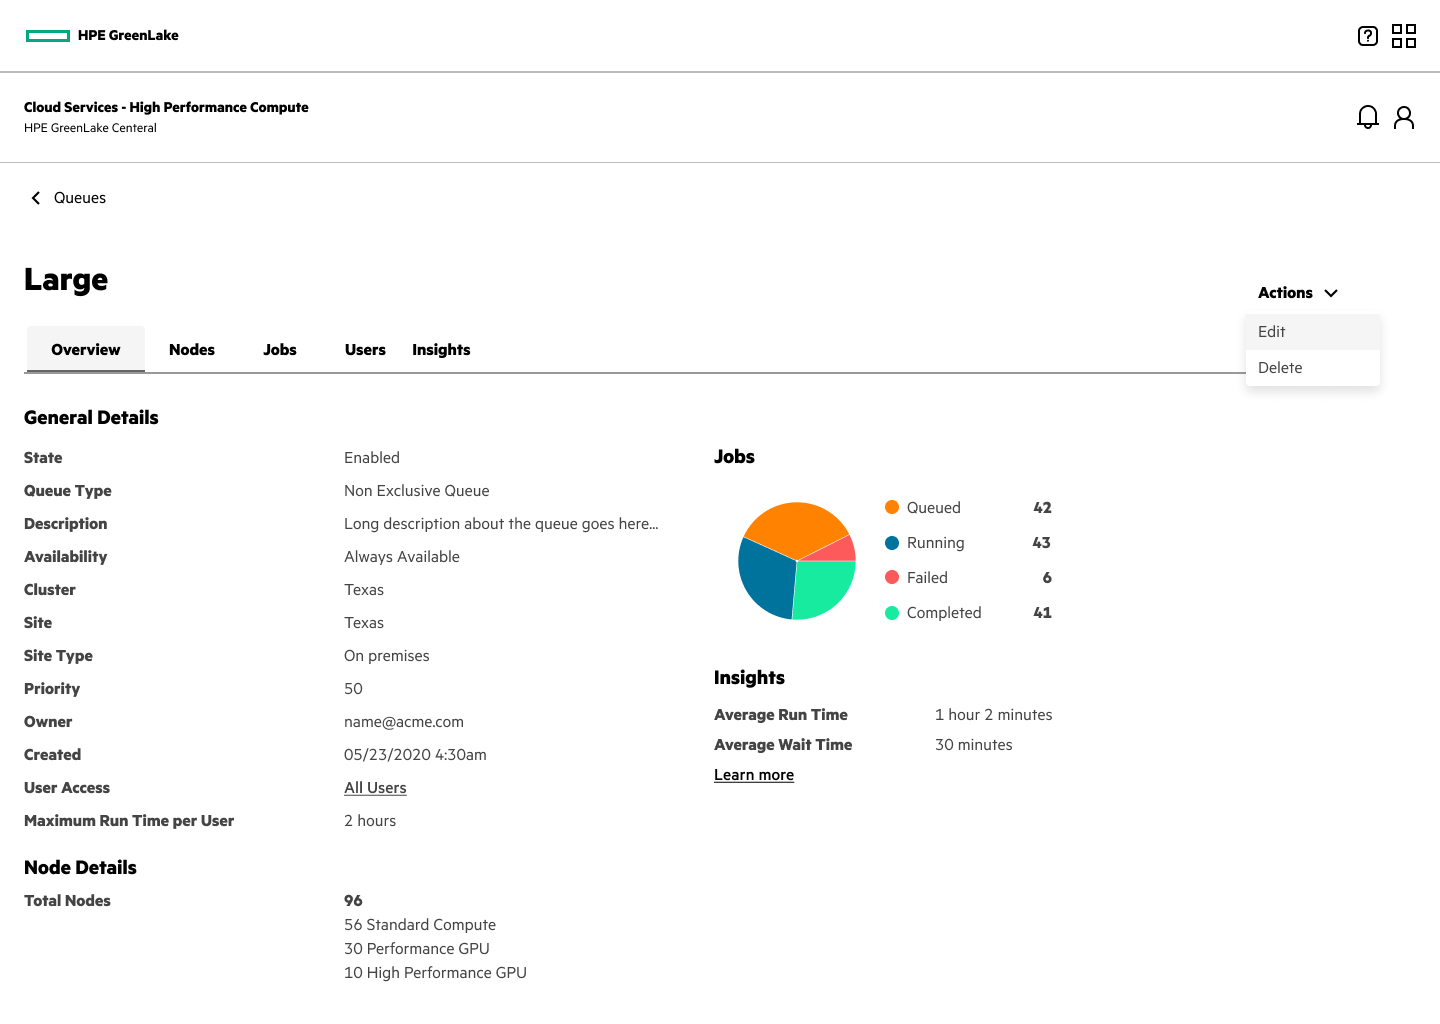
Allocated Nodes Visual Validation
When users inspect node lists inside a queue, they are presented with a focused details dashboard summarizing active computing statuses. This feedback panel helps administrators trace locks and see which compute systems are executing workload workloads, providing clear traceability.

Outcome & Feedback
The introduction of this visual self-service provisioning dashboard drastically reduced administration overhead for HPC clients. By removing the need to manage queues through command lines or ticket submissions, HPE clients can now partition cluster nodes in seconds.
System administrators praised the clear warning locks on Exclusive Queues, citing a **100% reduction** in accidental node over-allocations and a massive improvement in overall cluster tracking.